Vulnerable Container Application
How can Application Security protect containers?
Now we will be showing how Application Security can protect microservices applications running on AWS Fargate.
This application is written in Python 3.8. Following the Trend Micro documentation found here, we will integrate Application Security to protect our application before pushing our container image to AWS ECR.
1. In your AWS account
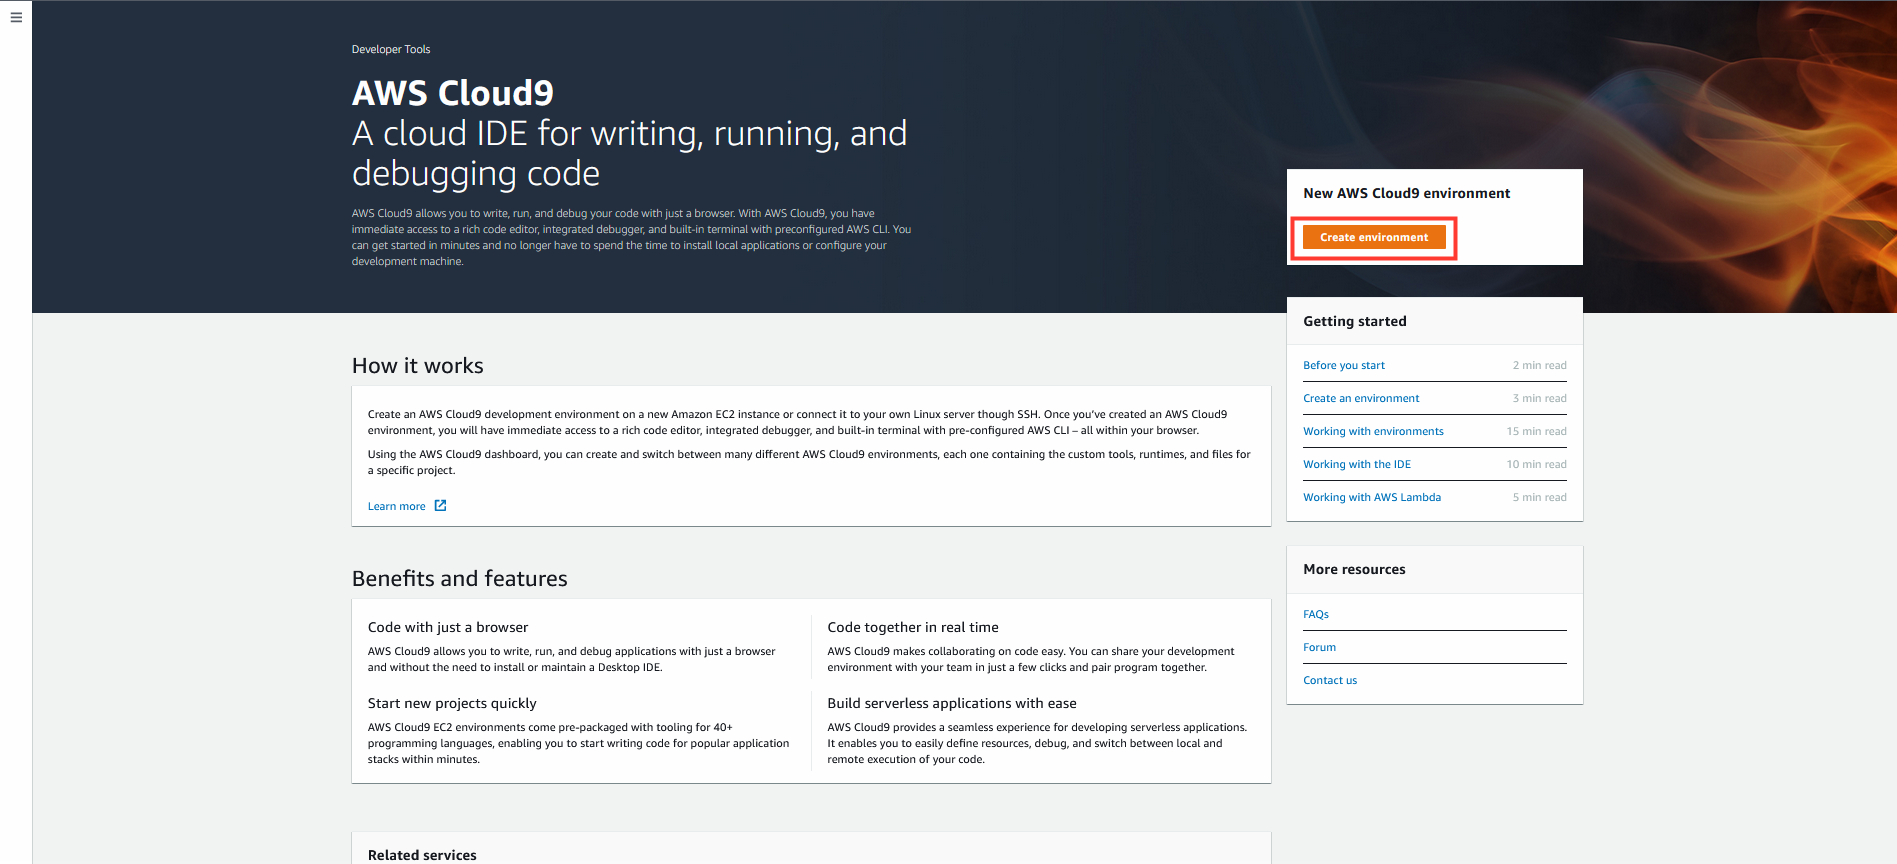
- Navigate to AWS Cloud9
- Click Create environment
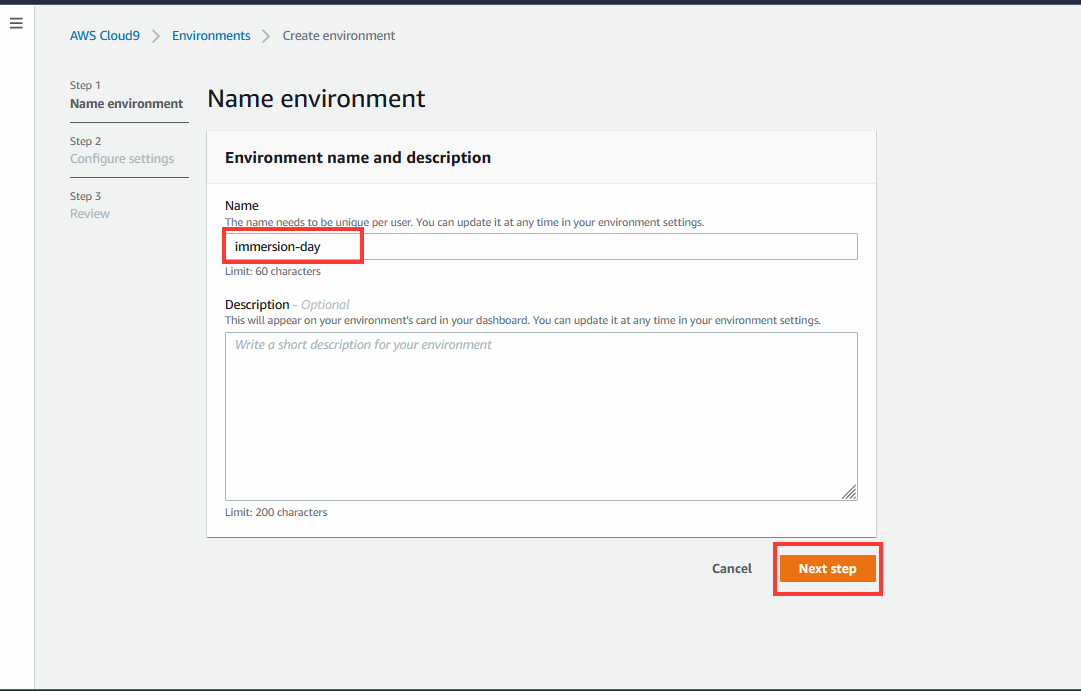
- Name:
immersion-day - Click Next step
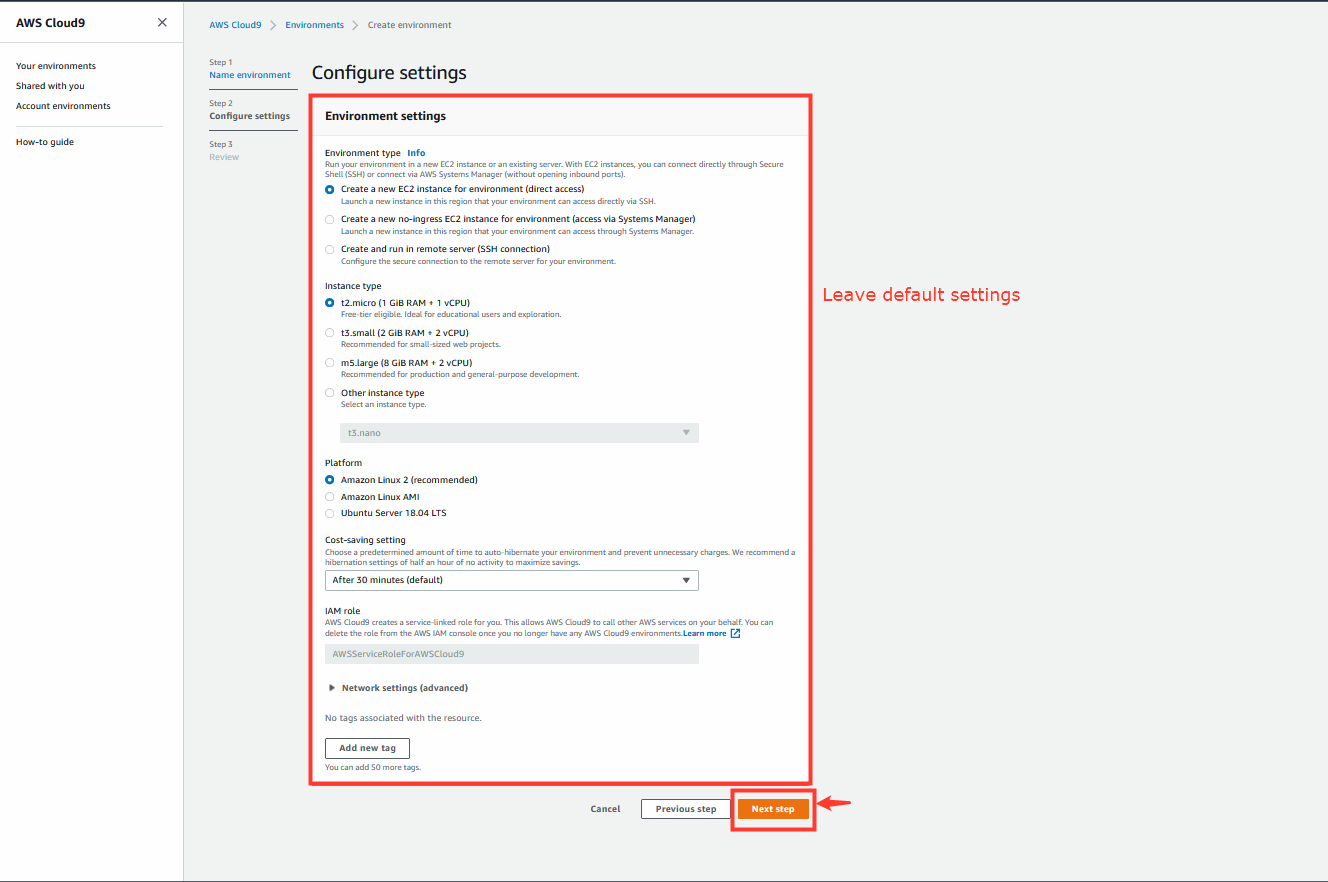
- Leave the default settings, click Next step
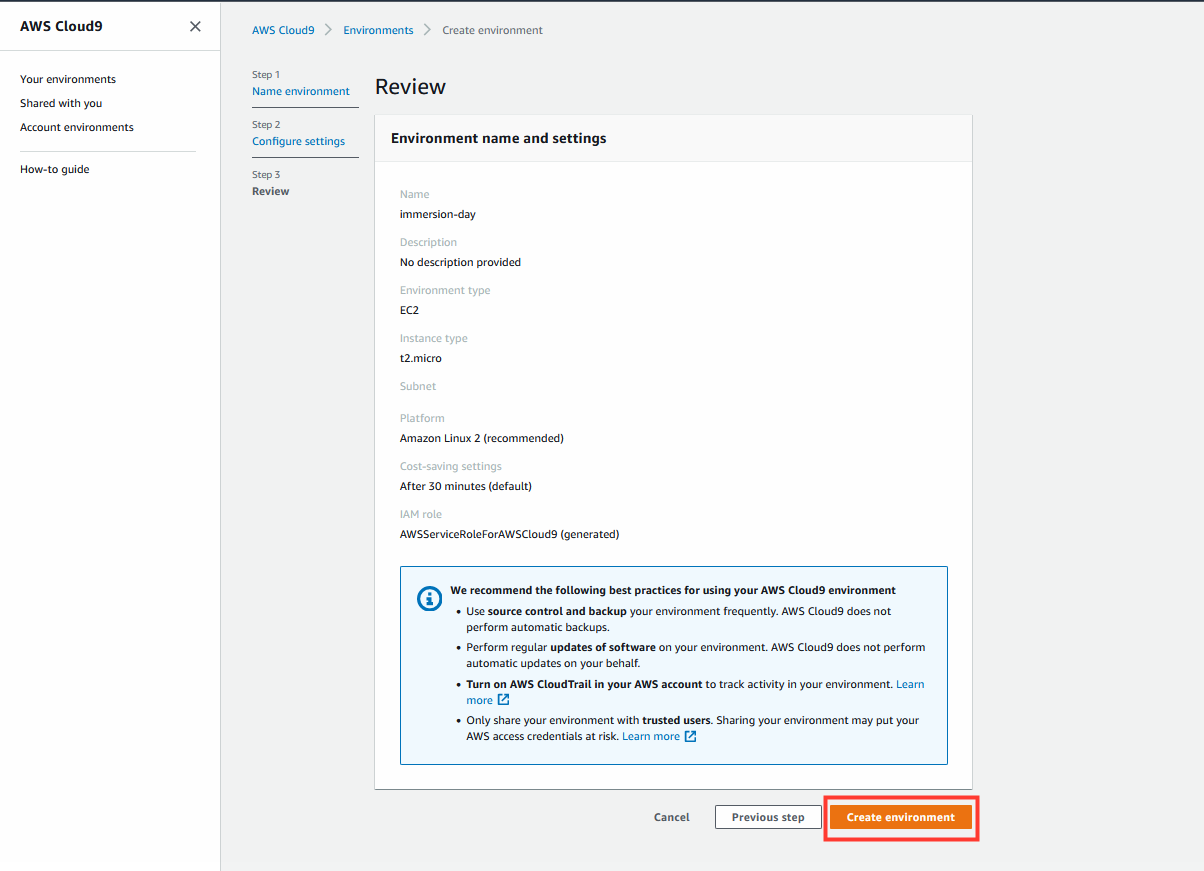
- Review and click Create environment
2. In the AWS Cloud9 IDE expand the terminal window at the bottom
- Make a directory called aws_workshop
- Go to aws_workshop
- Clone the Git repository
git clone https://github.com/JustinDPerkins/pygoat-tm
Copy and run the commands below in Cloud9 terminal:
mkdir aws_workshop
cd aws_workshop
git clone https://github.com/JustinDPerkins/pygoat-tm
3. Navigate into the repo home directory.
cd pygoat-tm
4. The Application Security agent uses a custom security library. You will need to edit the requirements.txt to include the package.
- Add the Application Security package to requirements.txt:
In Cloud9 terminal run:
vi requirements.txtType
iand press enter to edit the fileOn a new line add
trend_app_protectHit the esc or escape key
To save the changes type
:wq!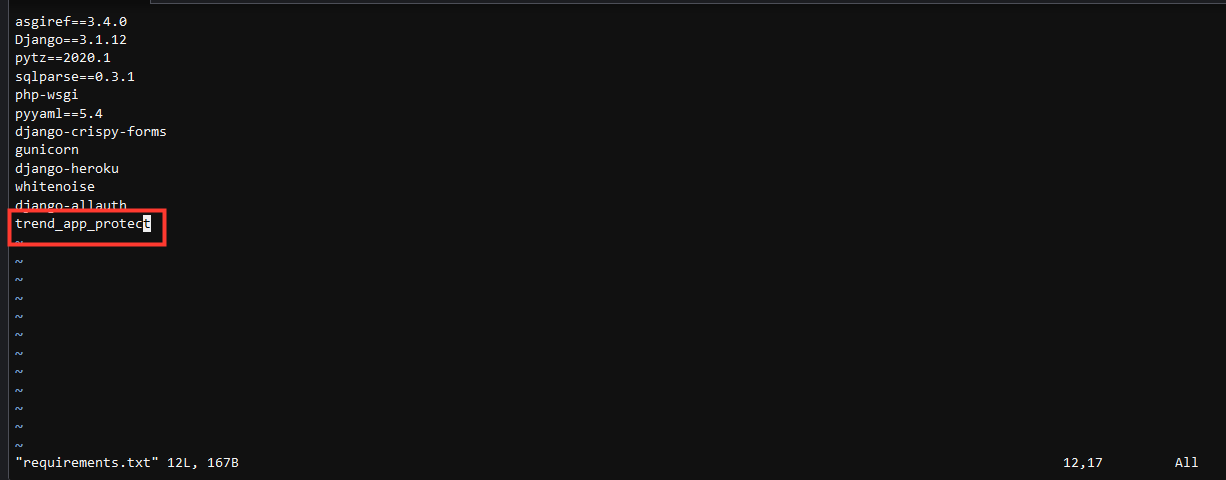
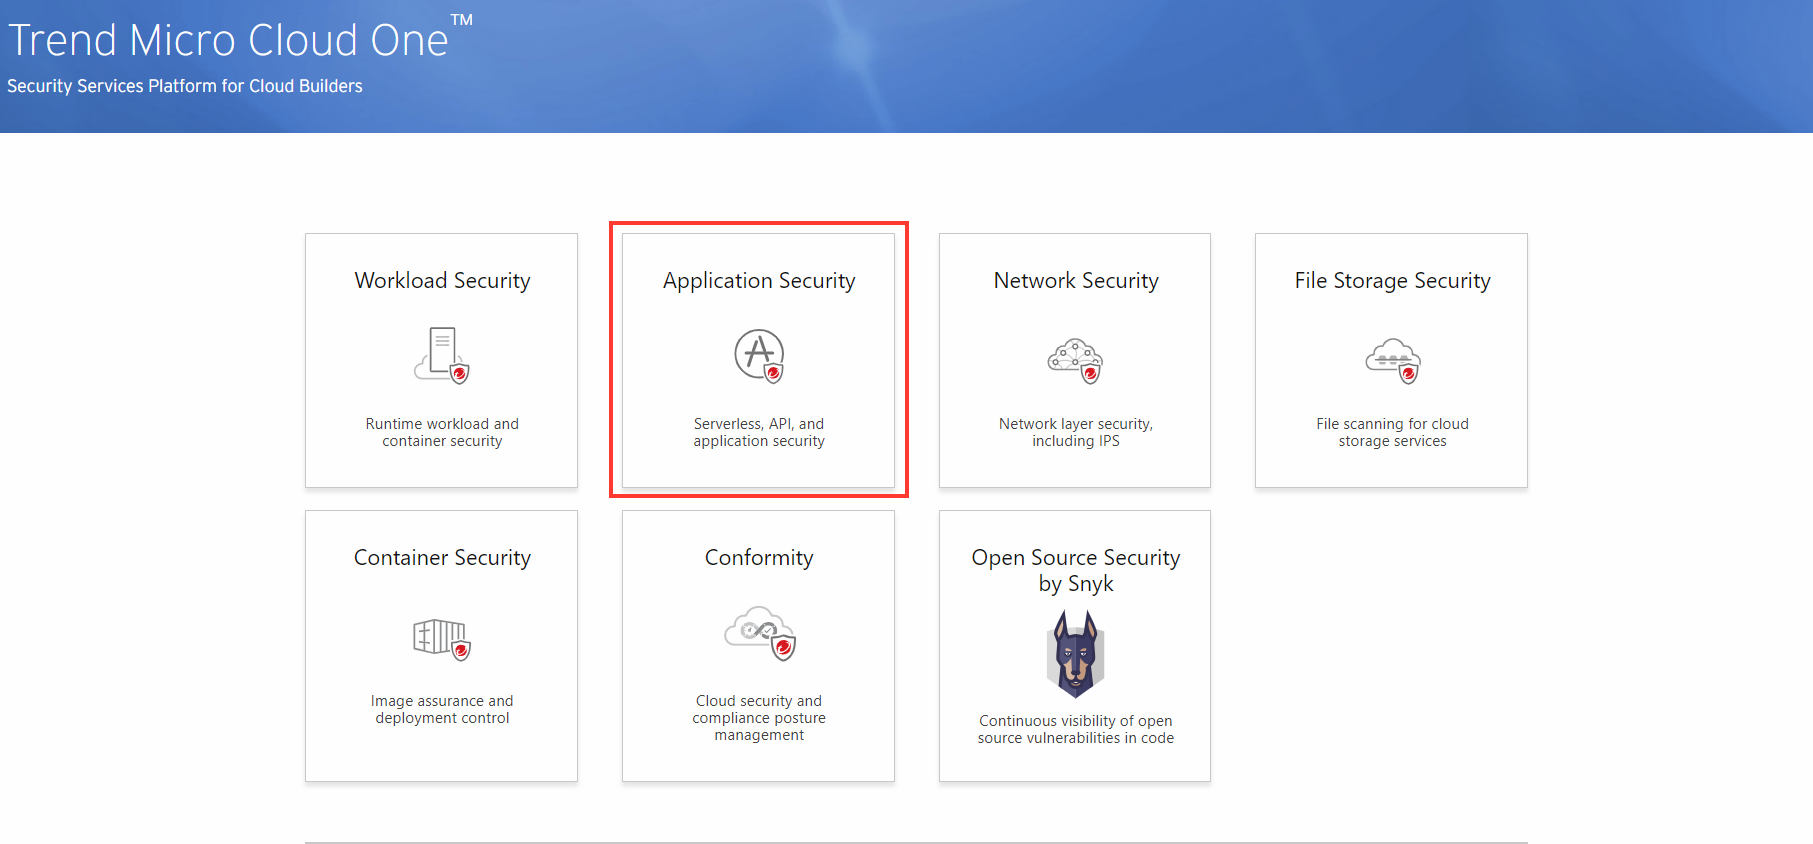
5. The Application Security agent needs the credentials to be able to activate successful communication to your Trend Micro Cloud One account. In your Trend Micro Cloud One account, select the tile Application Security.
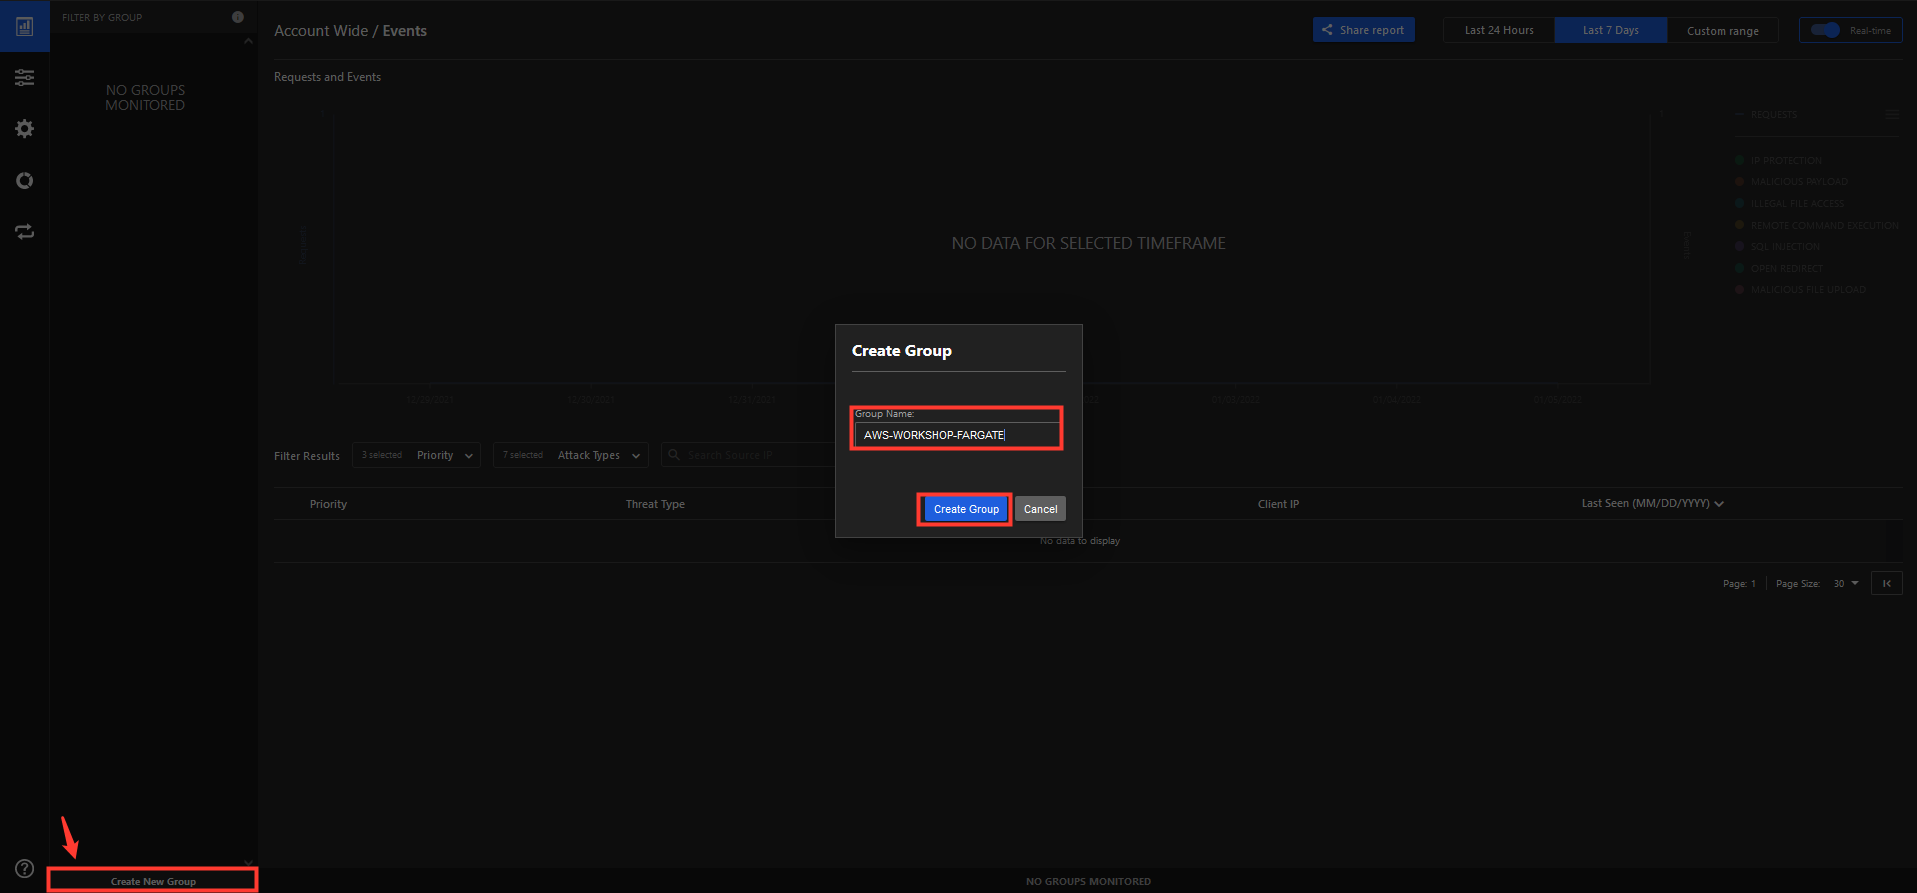
6. Create a New Group named AWS-Workshop-Fargate.
- Create Group
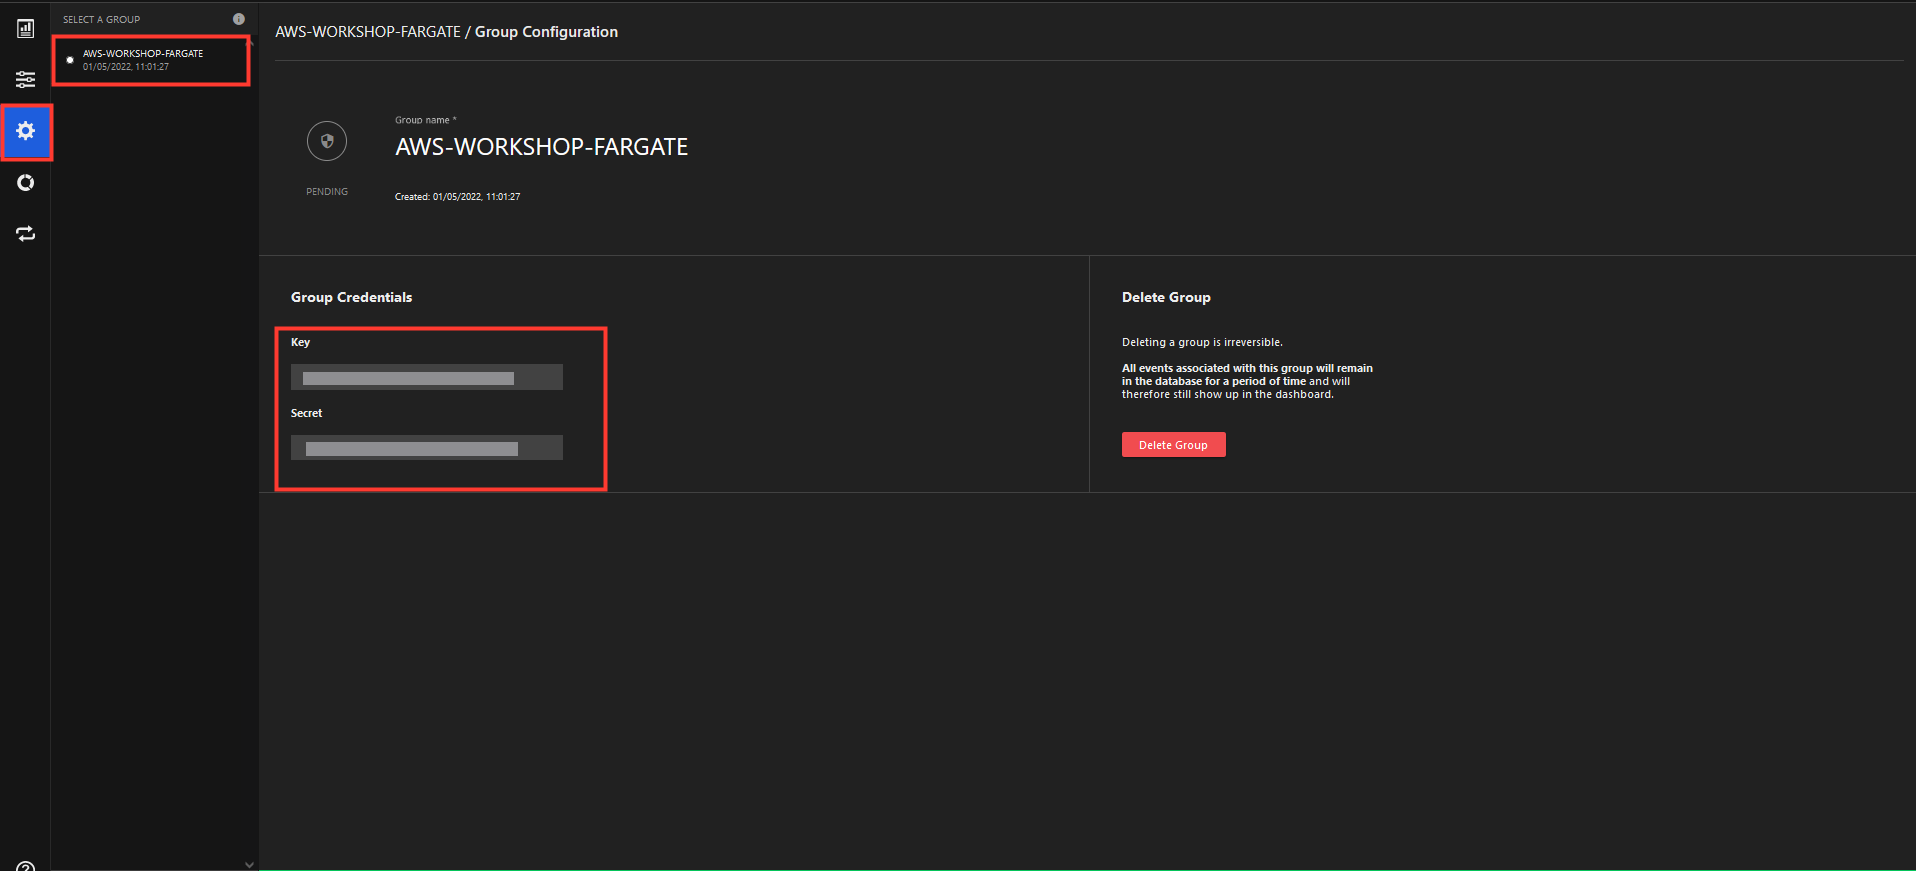
- Note the Key and Secret to use for later.
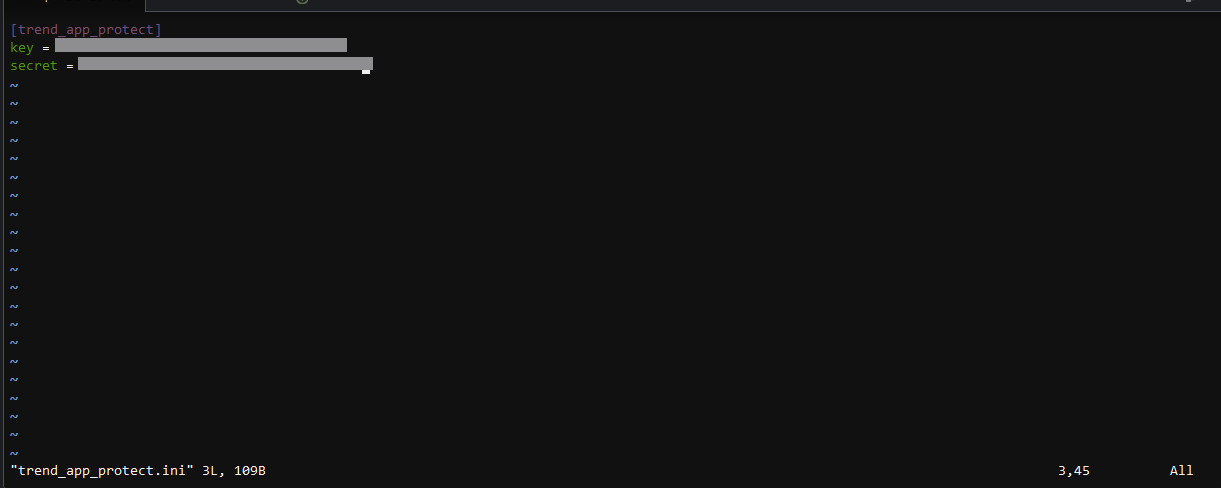
7. Back in the Cloud9, under the Git project root, you need to create a file for the security library credentials.
Create a file called
trend_app_protect.inivi trend_app_protect.ini
Here you will provide your group Key and Secret from the last steps.
Type
iand press enter to edit the file[trend_app_protect] key = 01234567-1111-2222-3333-01234567890 secret = 01234567-1111-2222-3333-01234567890
- Hit the esc or escape key
- To save the changes type
:wq! —
—
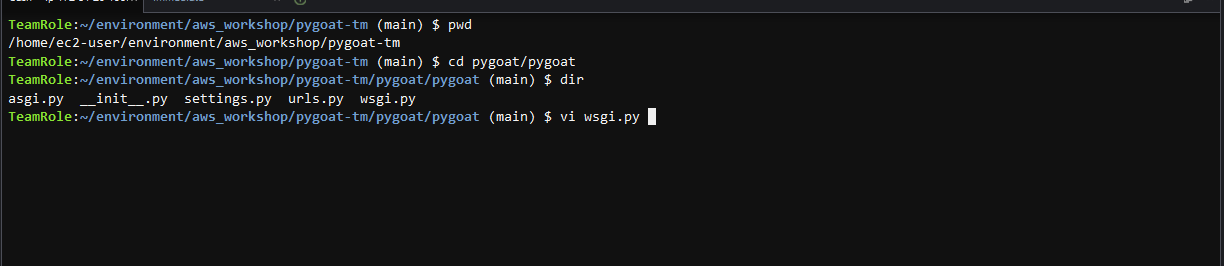
8. Last we need to import the Application Security protection module.
Under the root directory of the Git project that you have cloned
cd pygoat/pygoat
vi wsgi.py
- In the WSGI script import the trend_app_protect.start module
Type
iand press enter to edit the fileimport trend_app_protect.start
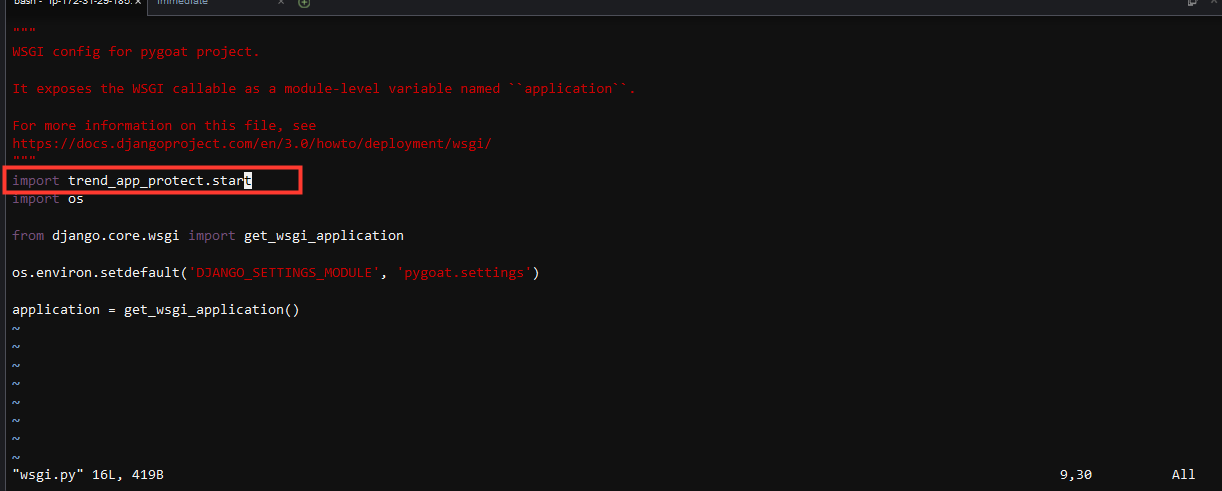
- Hit the esc or escape key
- To save the changes type
:wq! Return to the project’s root directory
cd ~/environment/aws_workshop/pygoat-tm
Push to Amazon ECR repository
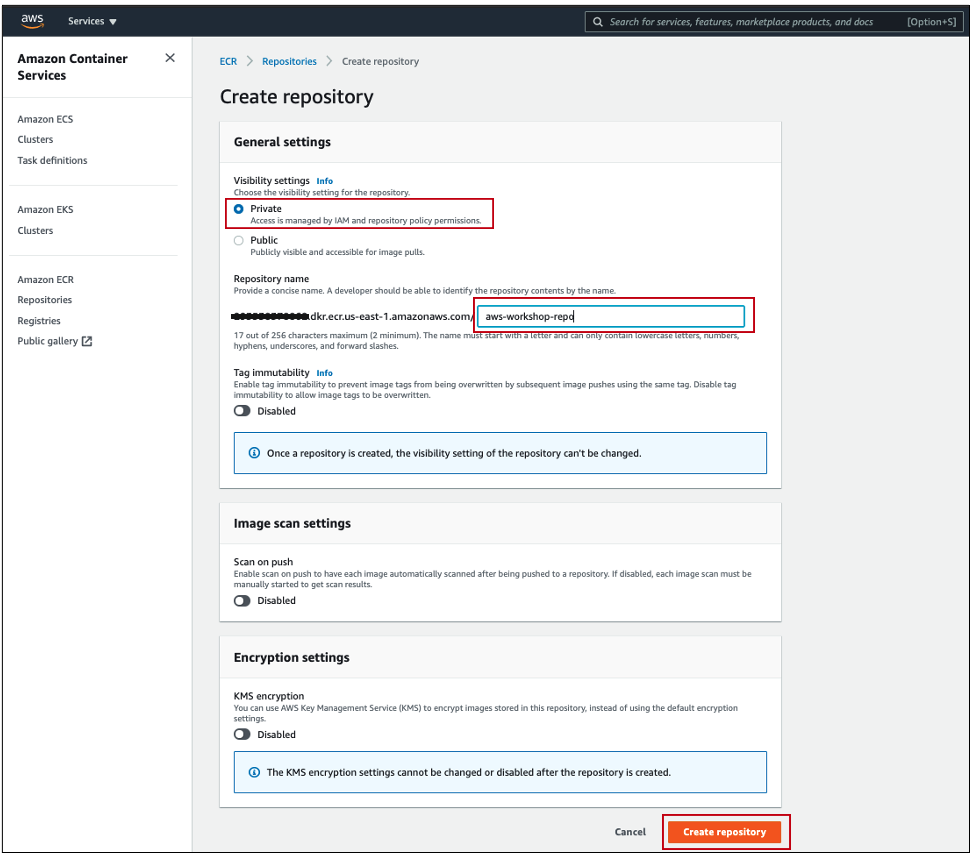
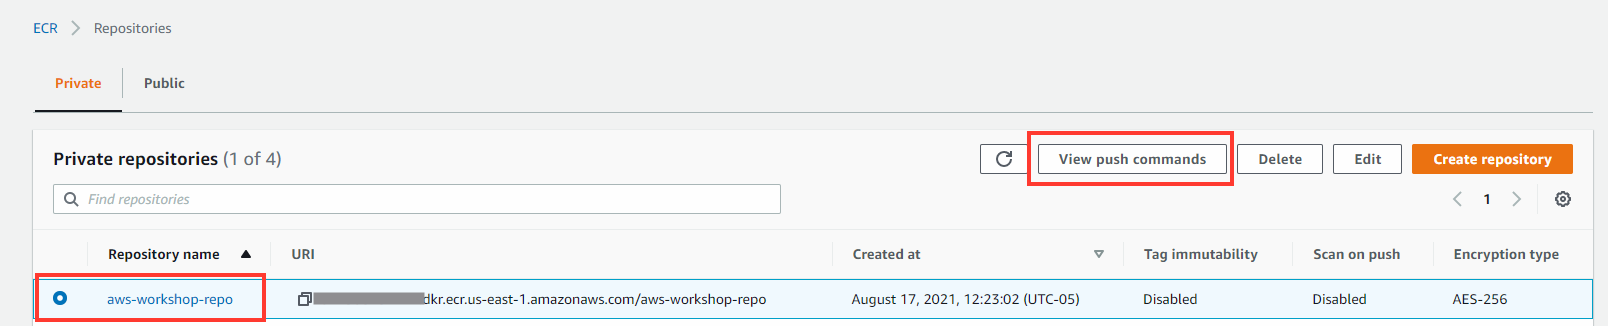
1. Login into your AWS account and navigate to Amazon ECR:
- Create a new repository
- Visibility: Private
- Name:
aws-workshop-repo - Click Create repository

2. Once the repository has been created, select the new repository, and click View push commands.
You will need these details below to push the application that you have cloned and updated with your own details:

3. In your Cloud9 IDE terminal, ensure you are at the root directory of the cloned Git project.
cd ~/environment/aws_workshop/pygoat-tm
4. Using the push commands steps provided by AWS ECR
- Retrieve an authentication token and authenticate your Docker client to your registry
- Copy the first command provided on the AWS console in the step before. It should be similar to the command in the image below:

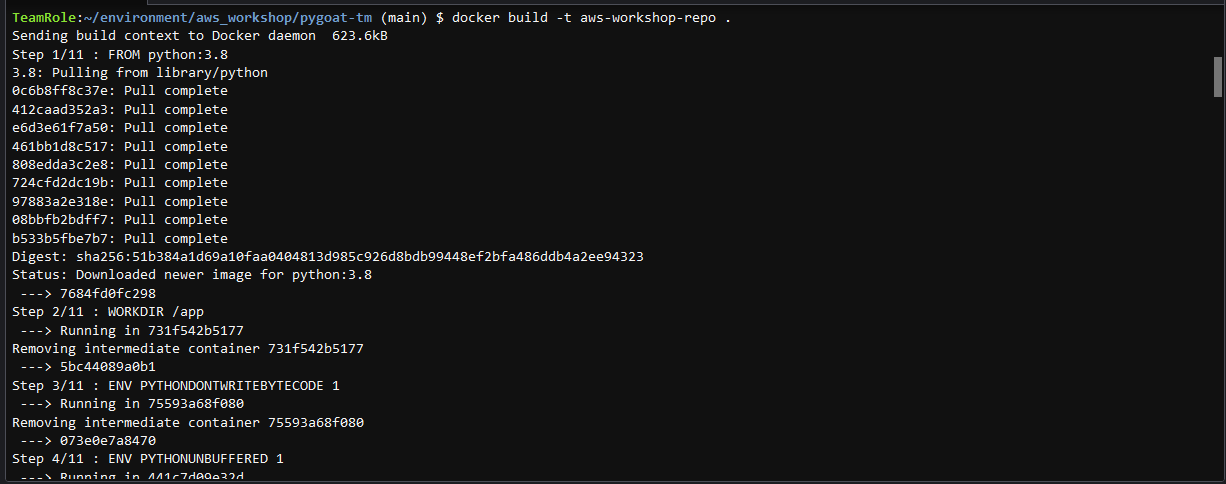
5. Build the Docker image using the second command provided in AWS ECR console
Command: docker build -t aws-workshop-repo .
6. After the build is complete, tag your container image so you can push it to AWS ECR.
- You can use the third command command provided by AWS ECR
- Command example:docker tag aws-workshop-fargate:latest <‘account’>.dkr.ecr.<‘region’>.amazonaws.com/aws-workshop-fargate:latest

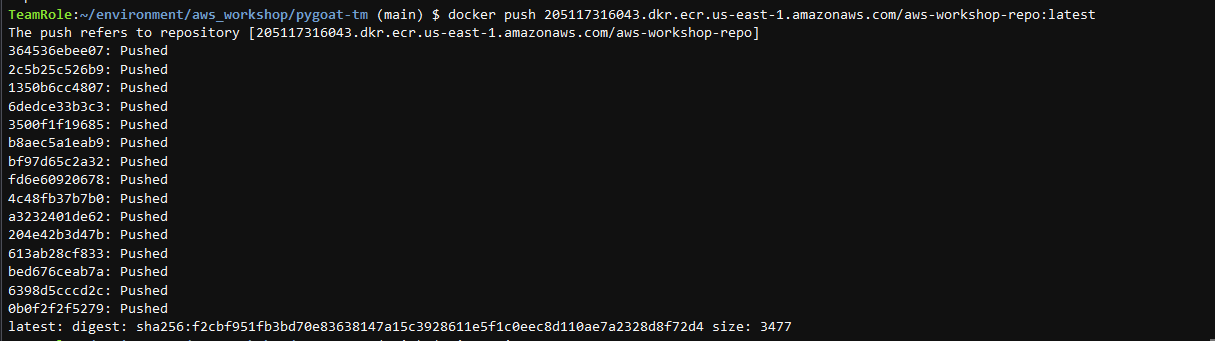
7. Push the container image to your newly created Amazon ECR
- Use the fourth command provided by AWS ECR
- Command example:docker push <‘account’>.dkr.ecr.<‘region’>.amazonaws.com/aws-workshop-fargate:latest
8. Check if the container image was push with success to Amazon ECR
- In AWS console, navigate to Amazon ECR
- Select your repository name
- Copy the latest image tag: Image URI

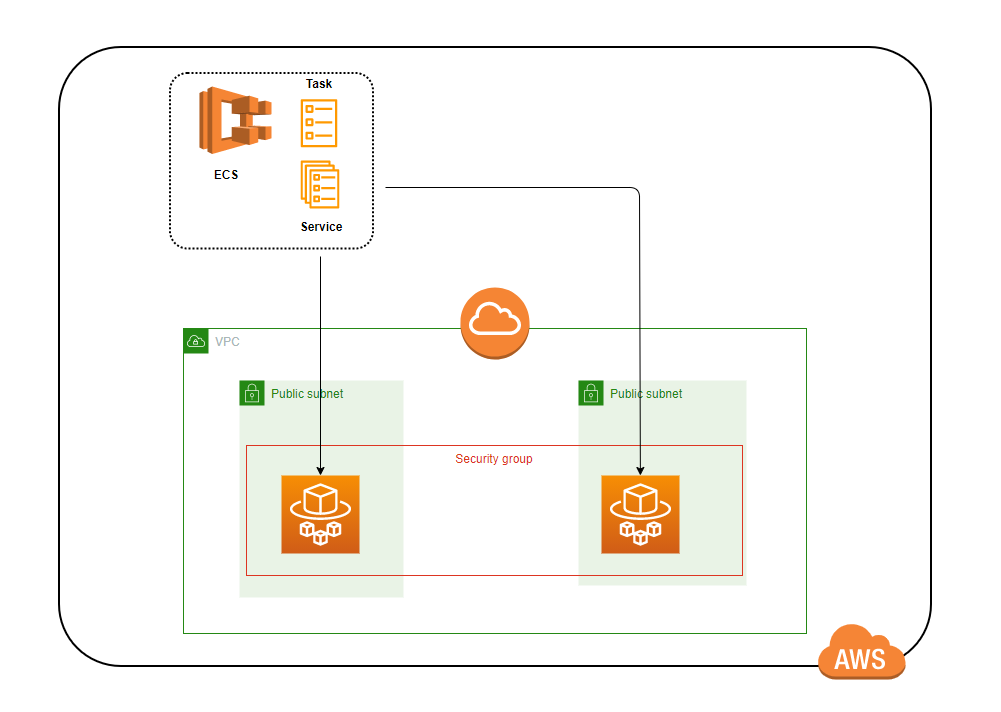
Deploy the AWS CloudFormation template provided to deploy the Amazon ECS infrastructure.
This AWS CloudFormation template creates a VPC with internet access and two public subnets, an Amazon ECS cluster, and a task definition pointing towards the Amazon ECR repository created in the previous steps

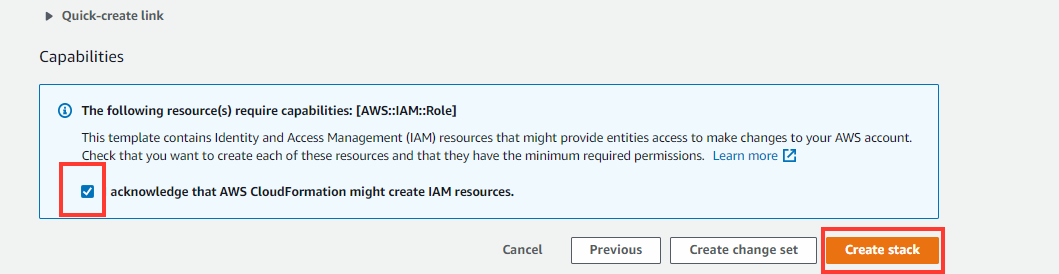
1. Name the stack and provide the image URL.

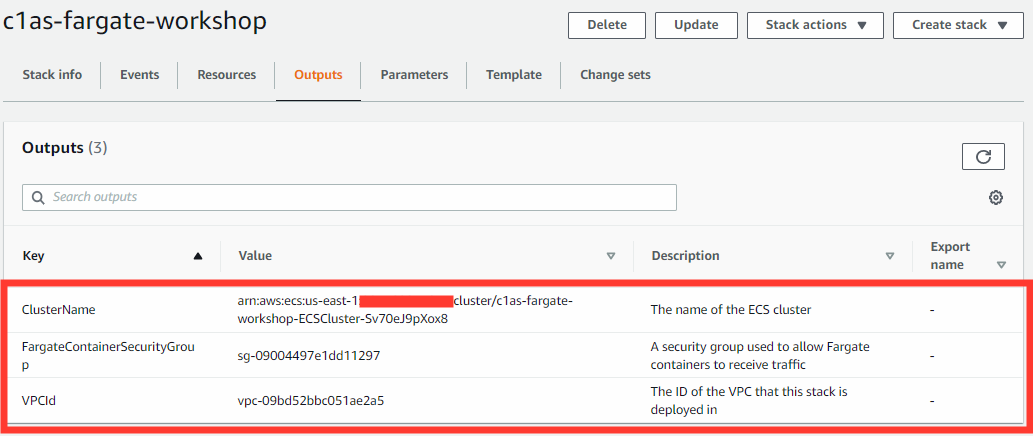
2. View your template Outputs to obtain cluster name, VPC ID, and security group.
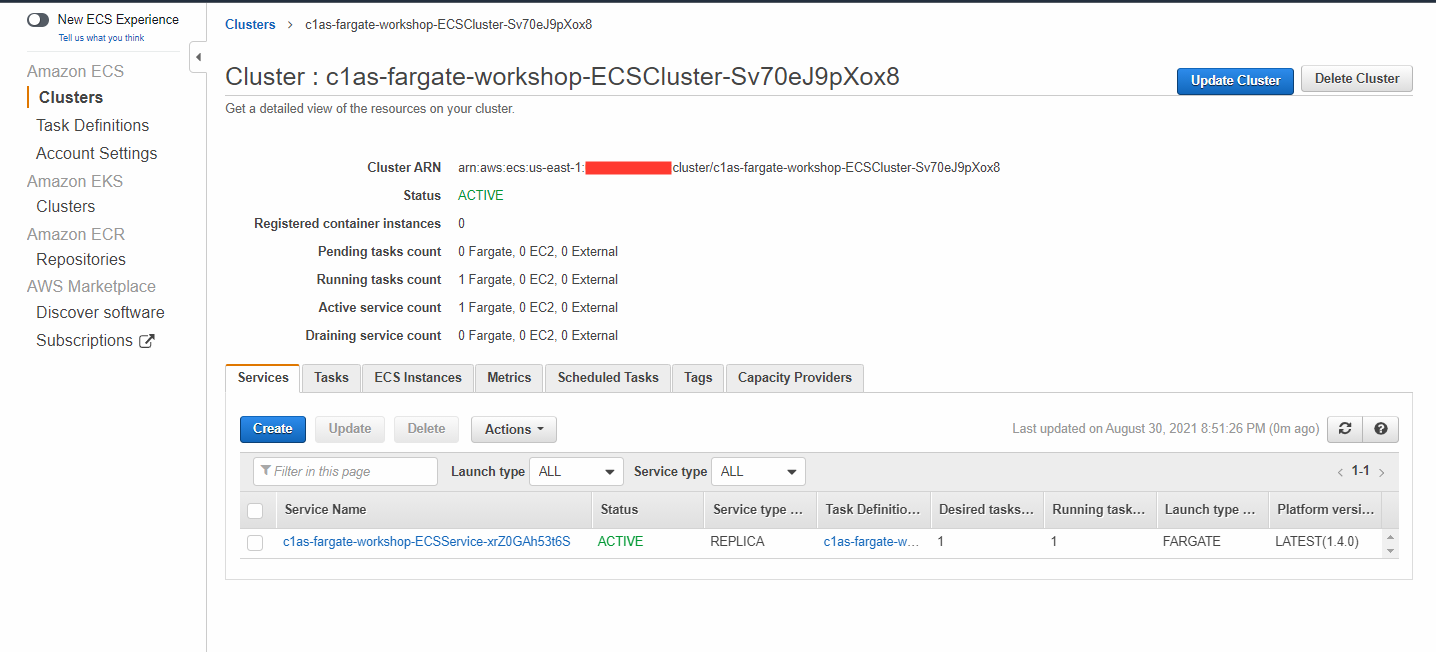
3. Navigate to Amazon ECS and select the newly created cluster.

4. Select the Tasks tab, then click your Task ID.
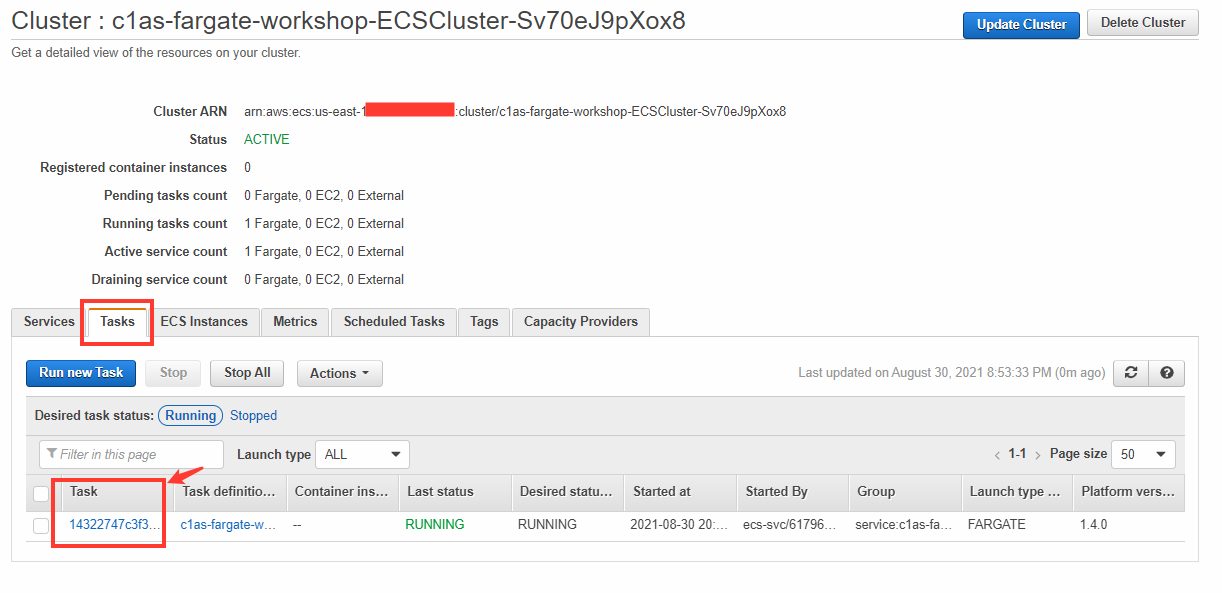
5. Here you will be able to locate the IP address for the AWS Fargate application instance under the Network section.
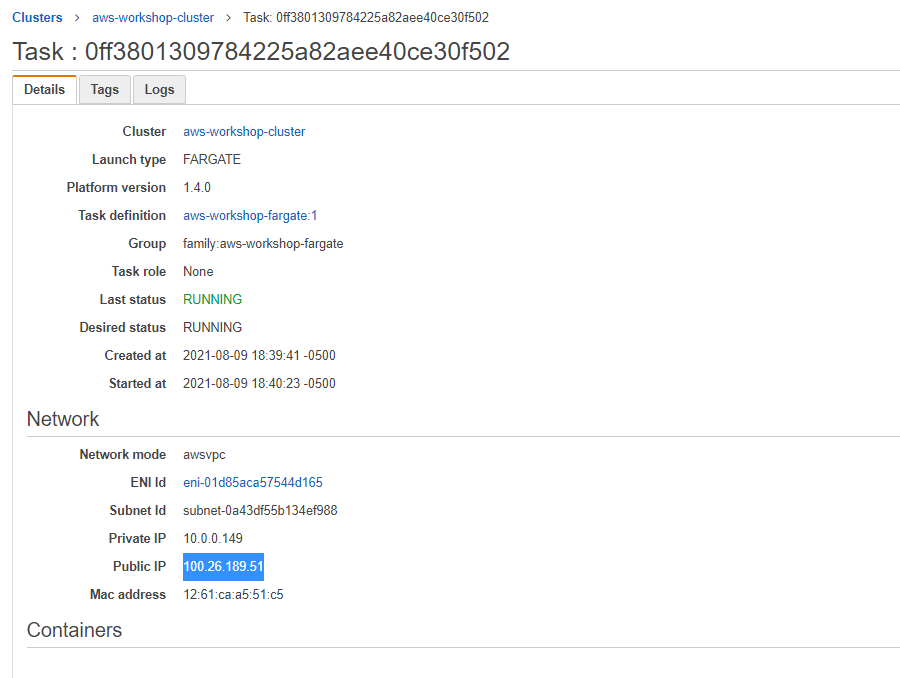
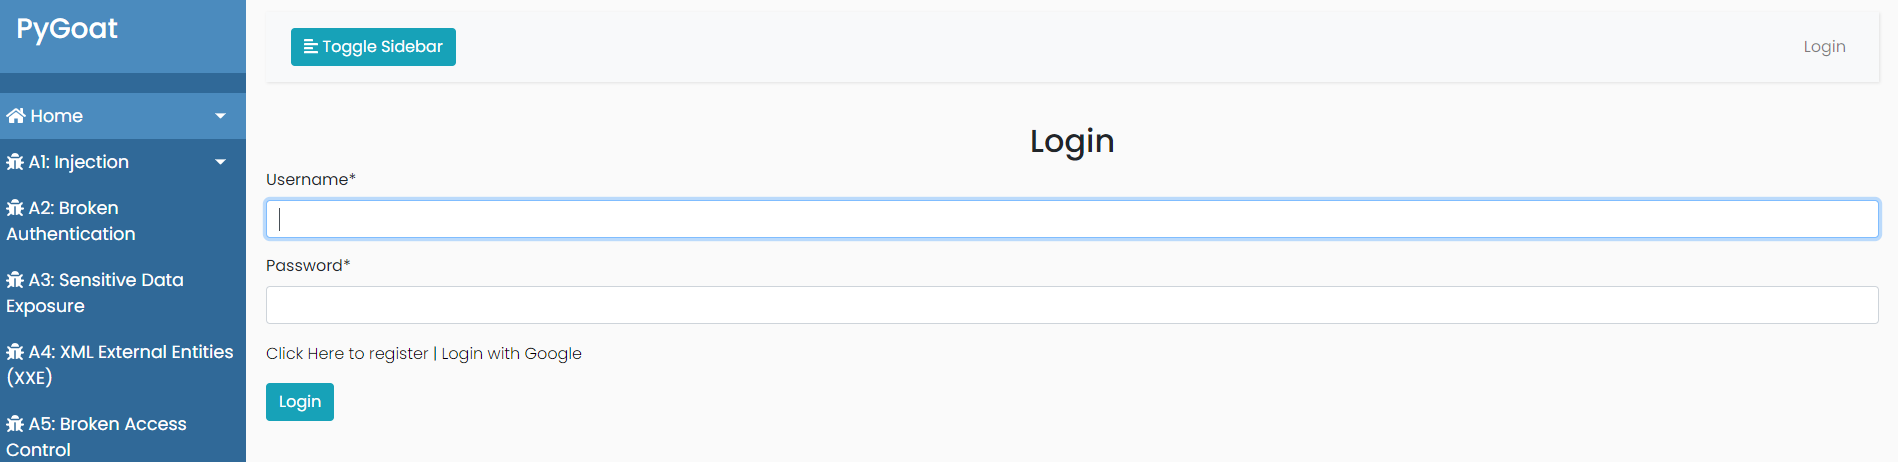
6. Ensure the application is working
- In our created Jump-Box, open FireFox and navigate to the public IP address and add Port 8000
- Example to use in the browser:
100.26.189.51:8000
- Example to use in the browser: